Powered by Blogger.
Showing posts with label yellow. Show all posts

Rugs, Revealed.

February 13, 2013

This post has been a long time coming.  I 100% blame the procrastination on the awful pain it is to put an 8 x 10 rug under a crazy heavy king bed, with a million supports beneath it.  Hubby and I just did not feel like tackling that task.  That meant the living room and guest room rugs were in place for a long time, and the rug for our master bedroom sat, rolled up, in our living room for weeks.

Thankfully, due to a fun Super Bowl party we hosted, we were forced to cross things off our to-do list...so we put on our big girl/boy pants, and maneuvered that sucker into place.

If you are new to my blog, and my rug issues, I have made it pretty clear that I have a fear of buying rugs, especially from online retailers.  1) Rugs are usually such an investment, and 2) 99.9% of rugs I want to buy are online, and therefore I can’t see or feel them before I take the plunge.  Well one day I threw caution to the wind and went for it.  Yup, I ordered three rugs from Rugs USA...all at one time.

I didn’t know what to expect, so I was super anxious for them to arrive.  Luckily, when I unrolled each one, I was more and more pleased.  They were all prettier in person than they were online, and I couldn’t be happier with my decision to place the order.  {Plus it didn’t hurt that I got them extremely discounted at 65% off...which is the only way we could afford 3 of them!}

Now I know there are all sorts of "rules" when it comes to rug size and placement...but I'm pretty sure those rules are for people who can afford to follow them.  And we aren't those people. :-/  That means I bought a smaller 5 x 8 rug for our living room space...because really, my main concern was having a cushy rug under foot for relaxing on the couch, or in case some young kids were over and wanted to snuggle on the floor to watch a movie or to play. 


And the guest bedroom rug could probably be bigger too, but I just wanted something to give people's feet a nice place to land when they got out of bed.  Plus, it can also be swapped out for the living room rug in case we wanted a pop of color out there in the spring and summer months.  Like I said, we are working with a budget, people!


For our master bedroom, we had to go with an 8 x 10 rug because anything smaller would have looked ridiculous.  Since we bought two smaller rugs for the other spaces, we could afford to go bigger here.  I love the comfort it adds to our room.


I am so thankful our big purchase wasn't a bust!  I think they add a little something to each room.  And hopefully you'll be seeing more of them soon because I'm determined to pick up my house tour posts again!  I might even re-do the living space because it's changed so much from my original post.

Anyone else on the cusp of purchasing a rug??  Anyone else laugh in the face of rug rules??  {Please tell me I'm not the only one!!}

Friggin' File Cabinet...

August 09, 2012


Yup, I said it…friggin’ file cabinet.  There are so many attractive, don’t-even-look-like-I-belong-
in-an-office options out there…but all of those come with a price tag I hate to even think about.  Heck, even some of the not-so-attractive options can cost a fortune!  But expensive or not, I knew we needed one for our home.  The cheapo cabinet I made due with since I was a single gal was not only broken, but also wouldn’t provide the filing space we will need as our family {God willing} continues to grow in the future.

So what was I to do?  Simple...it’s something I had done a million times before.  I became a Craigslist stalker {in a totally non-creepy, furniture-needing kind of way}.  I scoured the ads daily to find a lateral file cabinet made of wood or wood laminate.  These two qualities would help mask the “hi, I’m a file cabinet” appearance.  This was important to me since we do not have a designated office space in our home.  {We could make one of the guest rooms double as an office, but the truth is, we wouldn’t use it.  We are more casual and tend to sit on the couch or at the dining table to get any necessary work done.  Maybe when we finish our basement a million years from now, we can assign part of that space to be an office….but then again, maybe not. ;)} 

Anywho, after months of searching, I finally stumbled upon a cabinet that fit all of my criteria, was within my budget and was only a couple miles from my house!  Hallelujah!  {Speaking of which, thank gosh it was so close to my house because it BARELY fit in the car, and if I had to get on some sort of highway versus the back roads I was taking, I’m pretty sure it would have fallen out of the trunk and smashed onto the pavement.}

Here is the boring and functional piece of furniture I purchased.  I don’t have any photos of it together because the drawers were out when we got there {to make lifting and transporting easier}.


Once I got it home, it was time to sand, prime and paint.  The sanding I did on the piece was very minimal.  It was laminate, so I just wanted to rough up the surface a bit.  Then a few days later I got around to priming the piece.  Instead of using regular primer, I used my favorite Kilz spray paint primer.  That dried quickly, but it still took me a couple more days to get around to painting the piece.  Whoooops!  

I decided it’d be fun {and economical} to use the leftover yellow paint I had from when I made over the Craigslist’ed nightstands in our guest bedroom.  The happy yellow totally transformed the cabinet!  Originally I thought I would switch out the hardware on the piece, but after it was painted, the original stuff looked perfect!


Anyone else have tackle a furniture makeover lately?  I feel it’s becoming second nature for me to make over Craigslist finds! :)

Nightstands are New Again!

January 05, 2012

As I mentioned in my earlier post, I needed, and wanted, to find some Craigslist deals to re-do for our home.  I was on the hunt for nightstands for my guest bedrooms and I stumbled upon an ad for two solid wood nightstands for just $60.  To make the deal even sweeter, the seller happened to be just two streets away from our new house!

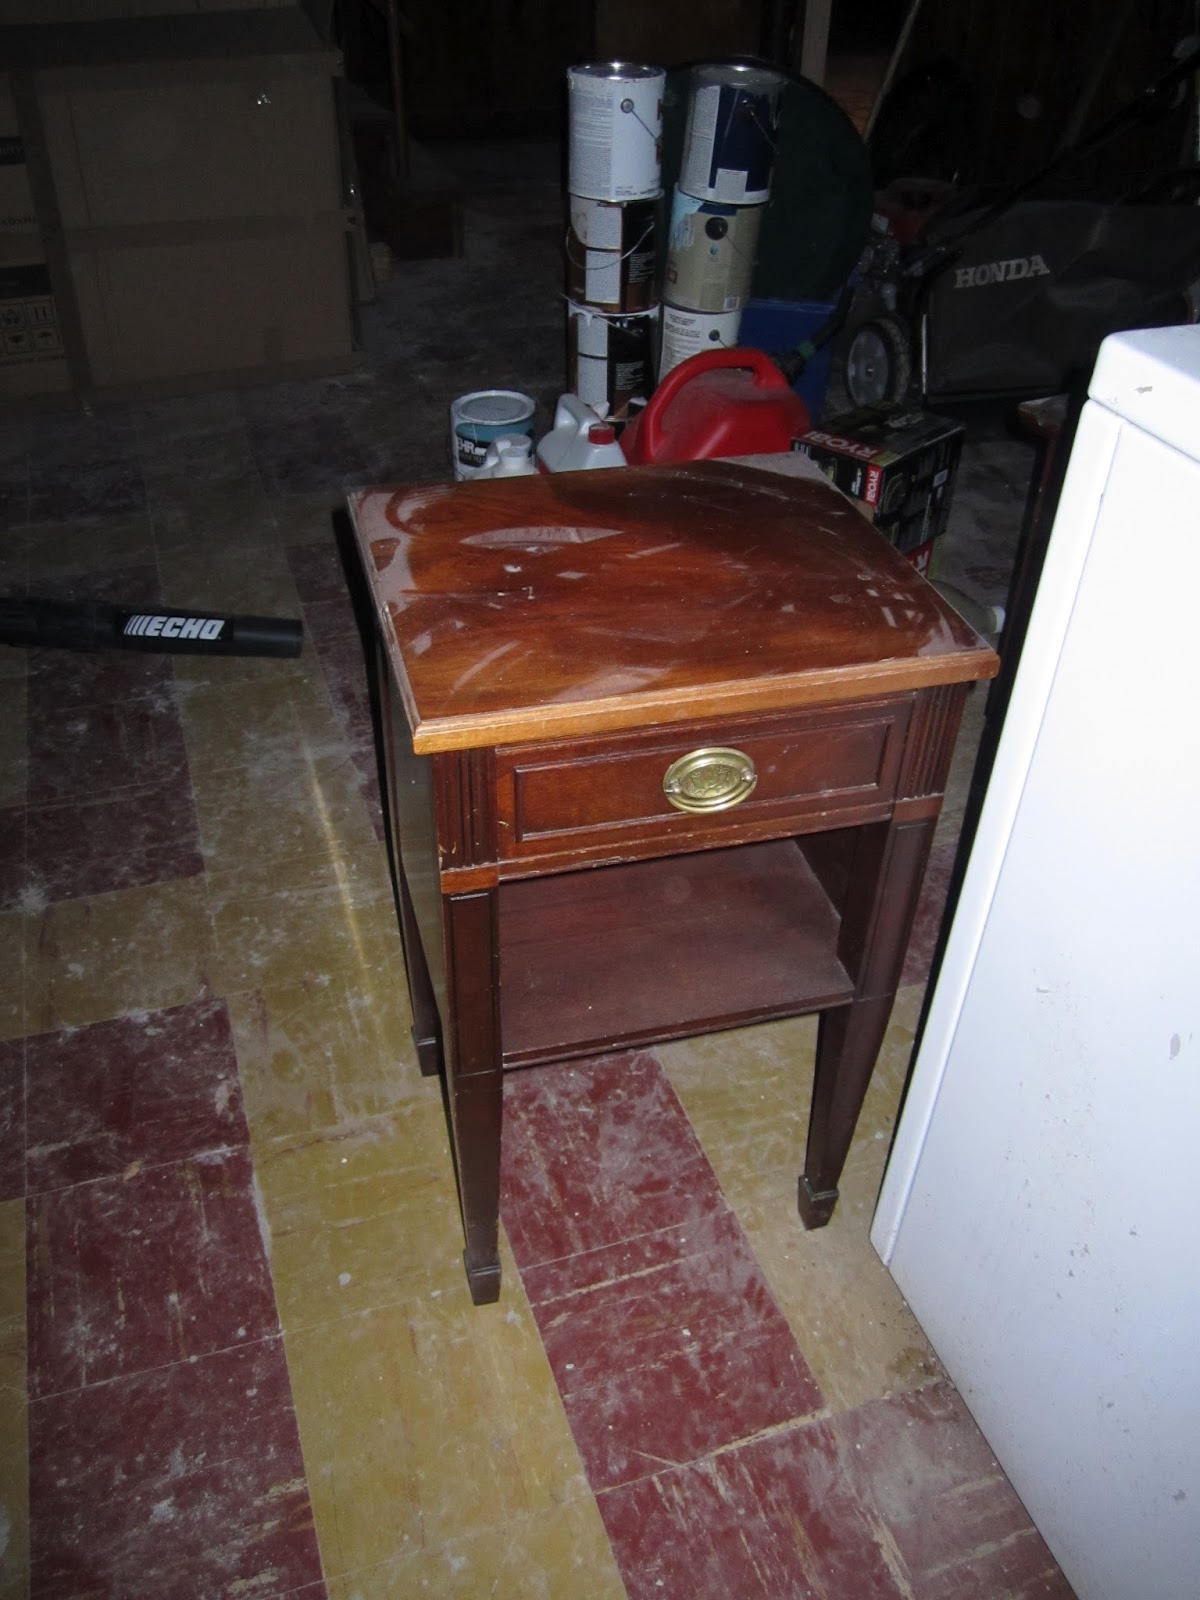
So my project started out with the tables looking like this...a couple dings and a bit worn...


I tossed the old hardware {I couldn't even spray them a different color if I wanted to...the pulls were broken}...


I removed the old drawer paper...and sanded them up a bit {I forgot to take a picture of them all scuffed up...whoops!}...


 Then I started priming and painting!!


My color inspiration for the tables came from the duvet I picked out for guest bedroom #1.  I matched a couple of paint chips up to the Citron Garden Mini Duvet Cover Set by Urban and the rest is history.

Unfortunately, I could NOT find replacement hardware that fit the same holes left by the original pulls.  And of course, I did not putty the existing holes before I sanded/primed/painted the tables {stupid rookie mistake}...so I decided to just put two glass knobs onto the drawer fronts.  I think it looks cute and adds a bit of character.  Overall, I absolutely love how they turned out and I can't wait to show them in the guest bedroom, with the duvet that inspired them.


 This is the picture that best depicts the real color of the tables...


Perny, our little love bug, wanted to make an appearance in this post.  He was very confused as to why I was giving so much attention to two end tables, instead of him. :)


Not too bad for $60, and a quart of paint!